When I first got into Plex DVD Decrypter was my first tool for ripping my DVD’s and one that I still use. In fact, when talking about DVD’s, it’s the first tool in my toolbox that I always go to.
While support for it ended many years ago due to a lawsuit by the movie studios, it’s still extremely easy to get.
Download DVD Decrypter here.
Important Note Make sure that when you install it on your computer that you turn off all software updates.
How To Use DVD Decrypter
Step 1: On your computer’s desktop Create a file folder to put your ripped DVD in. I’ve found that the easiest way is to name the file folder the same way that I would name it if I was putting the finished product in my Plex Server, so for a movie it would be
Name of movie (Year of Release)
In this case, I’m ripping my Rise of the Planet of the Apes movie, so I’ve created a folder in my video section:
Rise of the Planet of the Apes (2011)
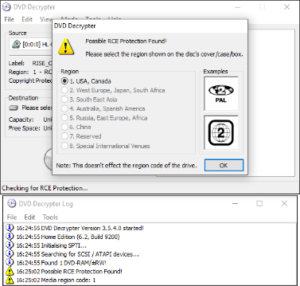 Step 2: Place your DVD into your computer’s DVD drive and open DVD Decrypter. Keep in mind that DVD Decrypter will only work using DVD’s. It’s incapable of ripping a Bluray. On some DVD’s the program will ask you to pick the region in which the DVD is being ripped. If you are using any DVD purchased from your local stores, they will be Region 1 (USA and Canada).
Step 3: In the box labeled “Destination” you’ll see a file folder. Click on the folder and tell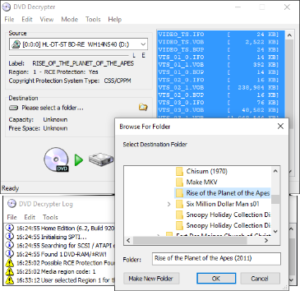 DVD Decrypter where you wish the ripped files to go. I have a special file folder in my Video file where I place all my ripped DVD’s. That is where you’ll see my created “Rise of the Planet of the Apes” file. Once you have selected the folder click “OK”. Then click on the icon with the DVD and green arrow pointing at the hard drive. This will start the ripping process.
Finish The Process
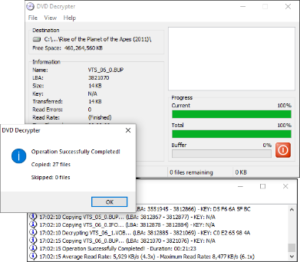
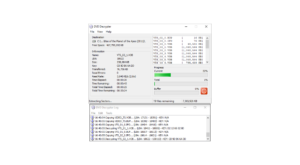 Once your computer has completed the ripping process, you’ll get an audio signal and a pop-up window telling you that your DVD has been successfully decrypted. If you have VLC Player, you can direct VLC to play from the folder and it will play just like you are playing the DVD.