Ok, so now Deadpool is on Disney+. When the service came out I bet nobody ever really expected to see it there. Deadpool is NOT a kids movie. While Disney moved the former Netflix shows to the service, you could squint and say that the content was TV 14 despite the sex, violence and language though they are actually rated TV-MA. But Deadpool reveles in its R rating. If you have not seen it consider that it has scenes where a woman sodomizes a man with a sex toy. Maybe Disney is making a branding mistake here, but this is a guide, not an opinion column.
So that being said if you would like to set Disney+ up to block content for younger audiences and or allow appropriate age content for adults you will need to take advantage of the profile creation and editing. Here is how to do it.
Pro Tip It might be easiest to start fresh.
How To Edit Profile Settings On Disney+
First of all, in order to edit the content level on a profile, you have to access Disney+ from either the mobile app or on a computer. Disney recommends that if you jump on a computer to do so, that you access Disney+ via Google Chrome. Once you are in follow the instructions below.
1. Log into Disney+ through either a mobile app or via the Website. Disney specifically suggests you do so on a computer using the Google Chrome browser.
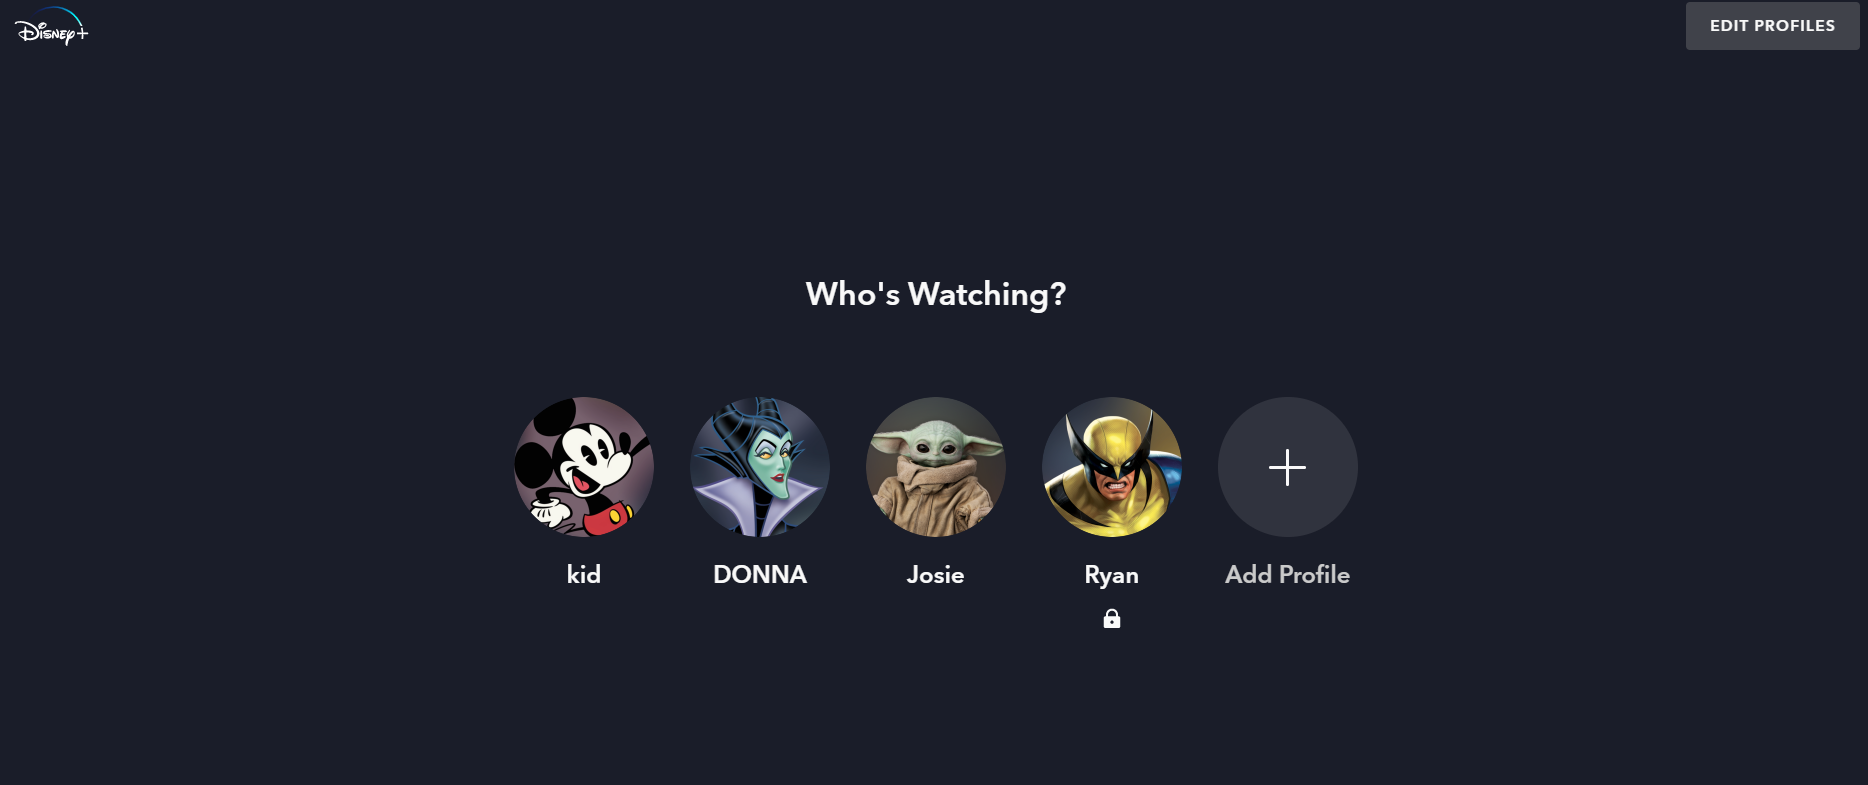
2. Click on Edit Profiles
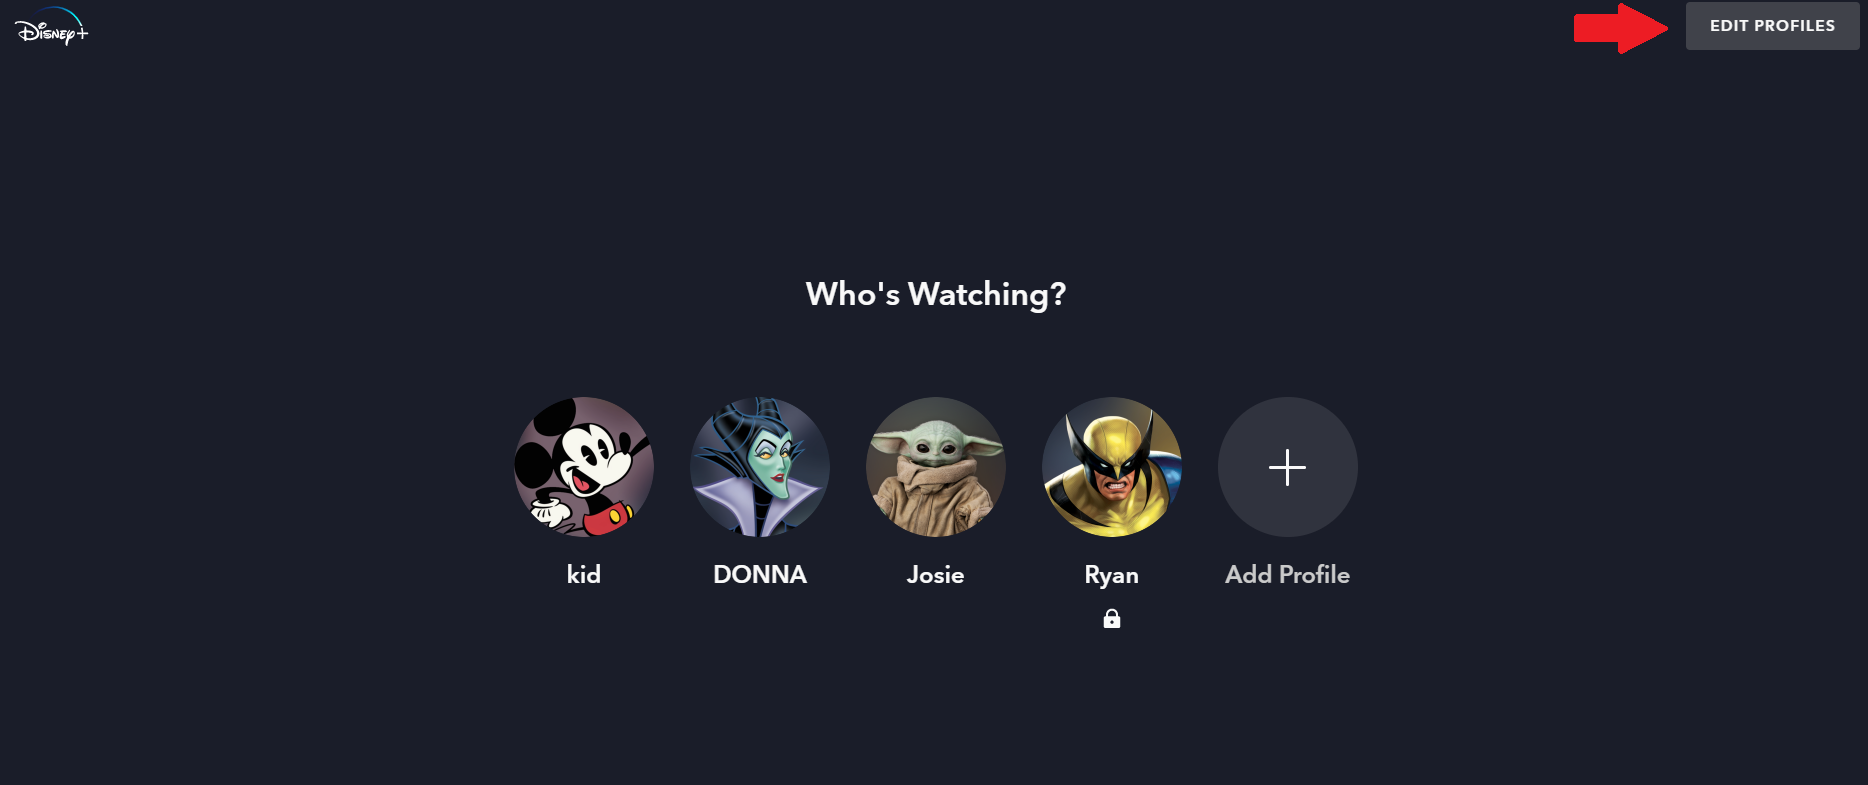
3. Select the profile you want to change the ratings on and click on it.
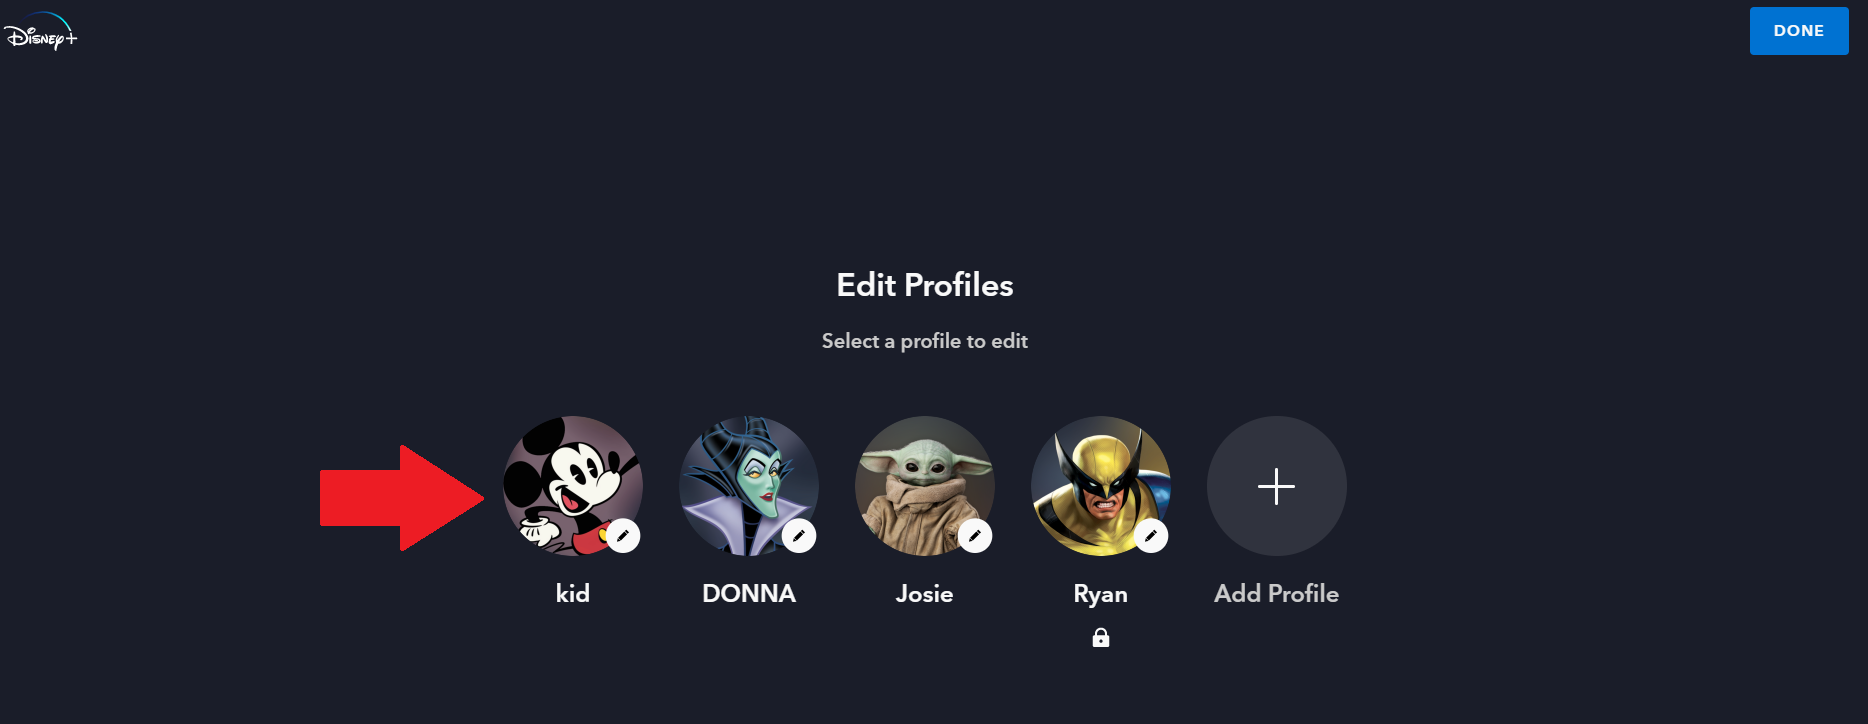
4. Scroll to Content Ratings and click on it
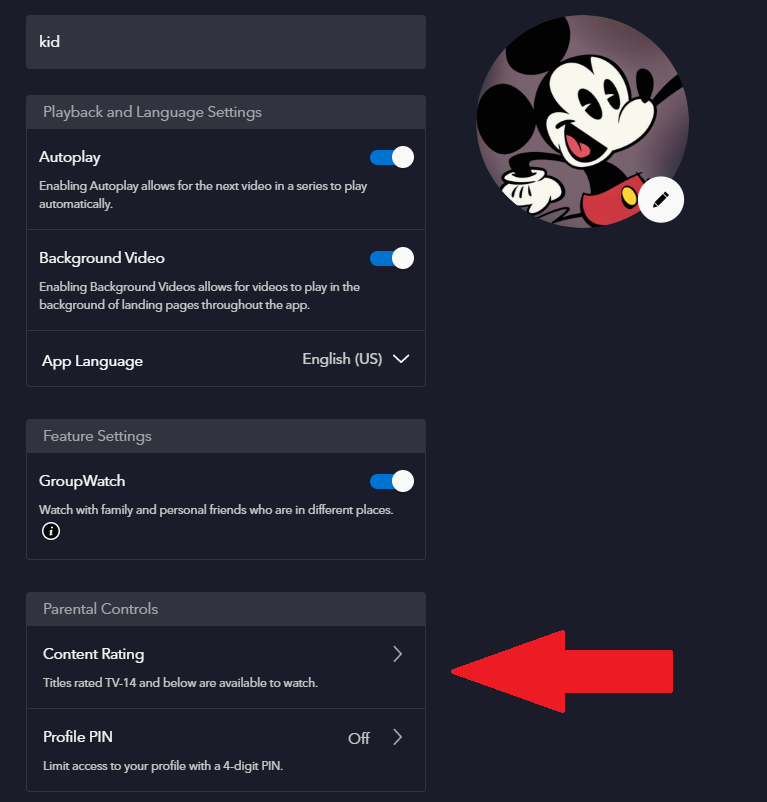
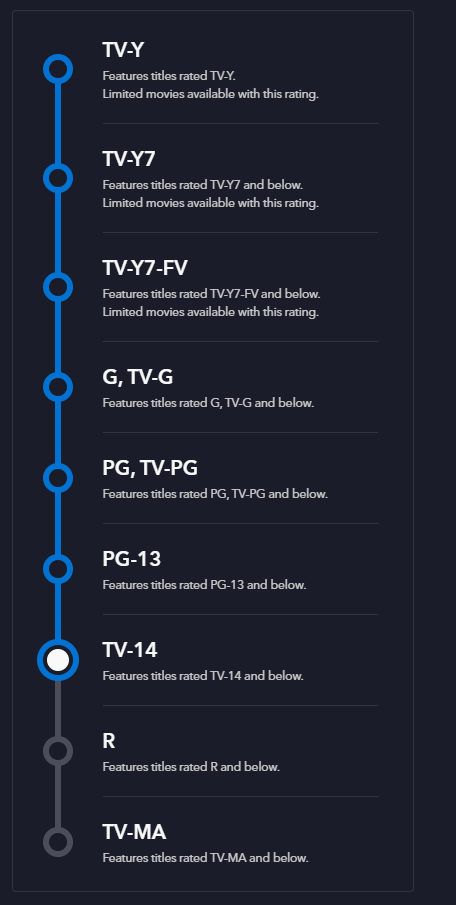
5. Select the level of content allowed for the profile.
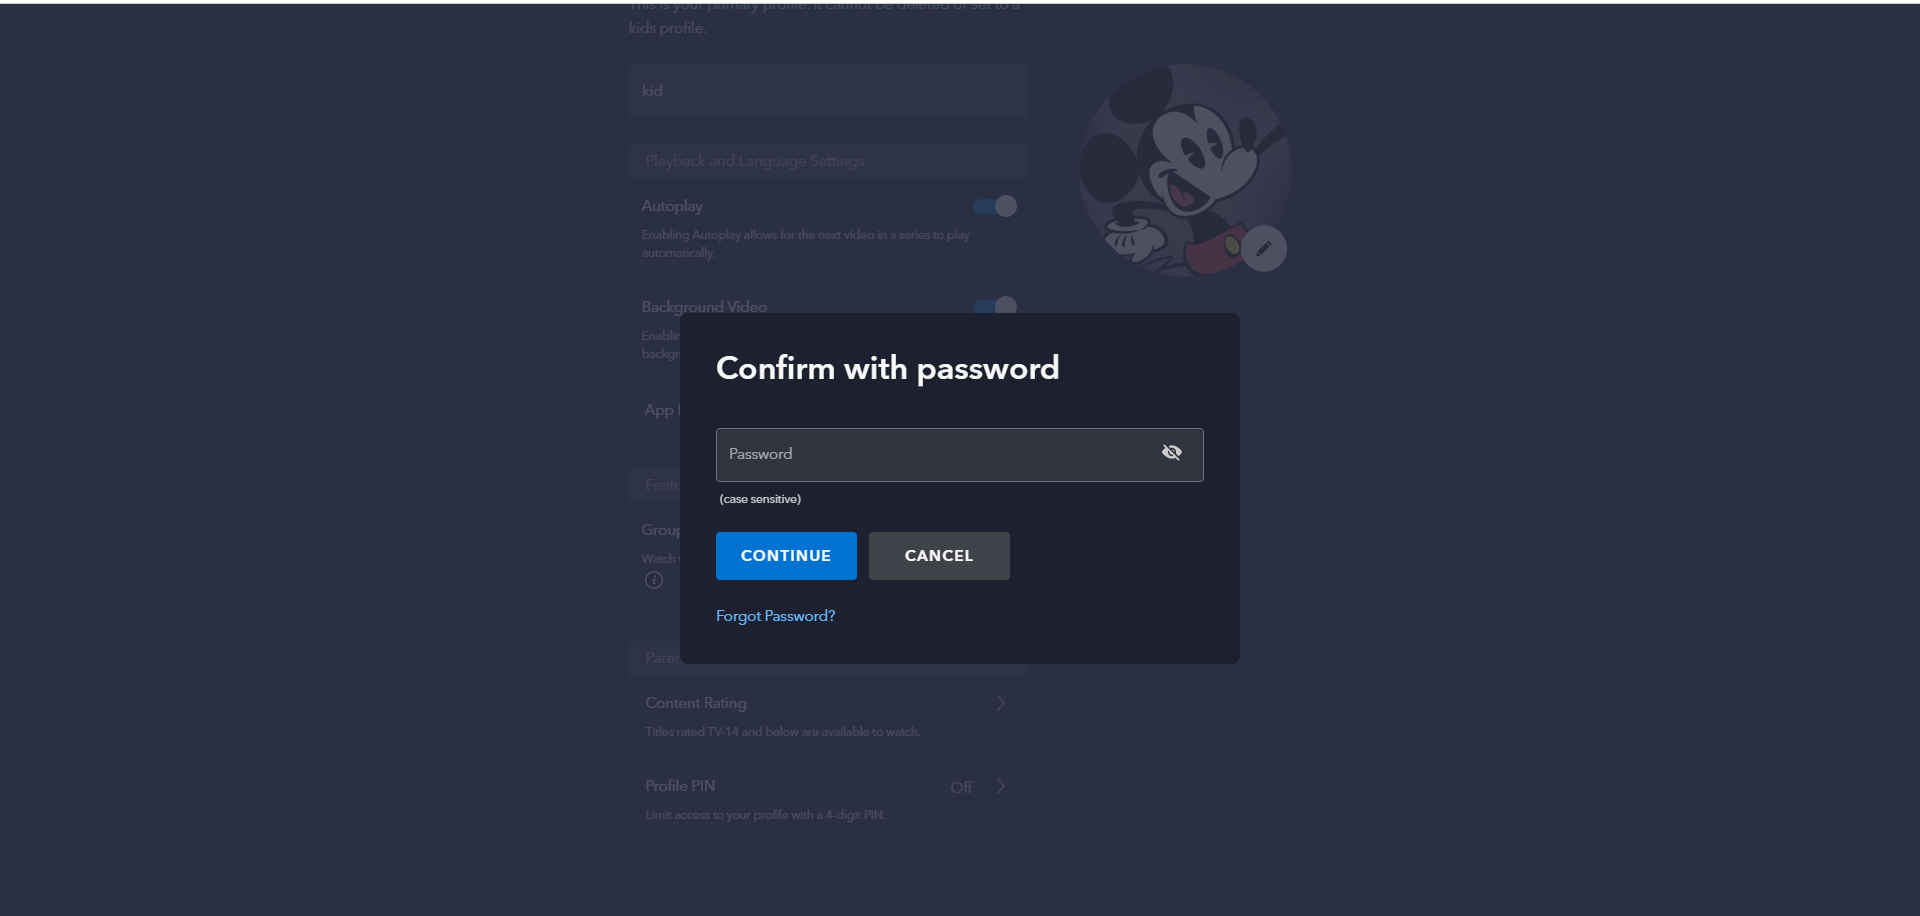
6. Type your account password (the one you use to log into the app and website, not a 4 digit pin)
7. Save
Setting up an adult profile On Disney+
If you already have an adult profile you can add a PIN number to the existing one in order to prevent access. If you already set up a PIN number you are all set. You would be able to see this if your profile has a lock next to it. If you wish to set up a new profile follow the instructions below.
1. Log Into Log into Disney+ through either a mobile app or via the Website. Disney specifically suggests you do so on a computer using the Google Chrome browser.

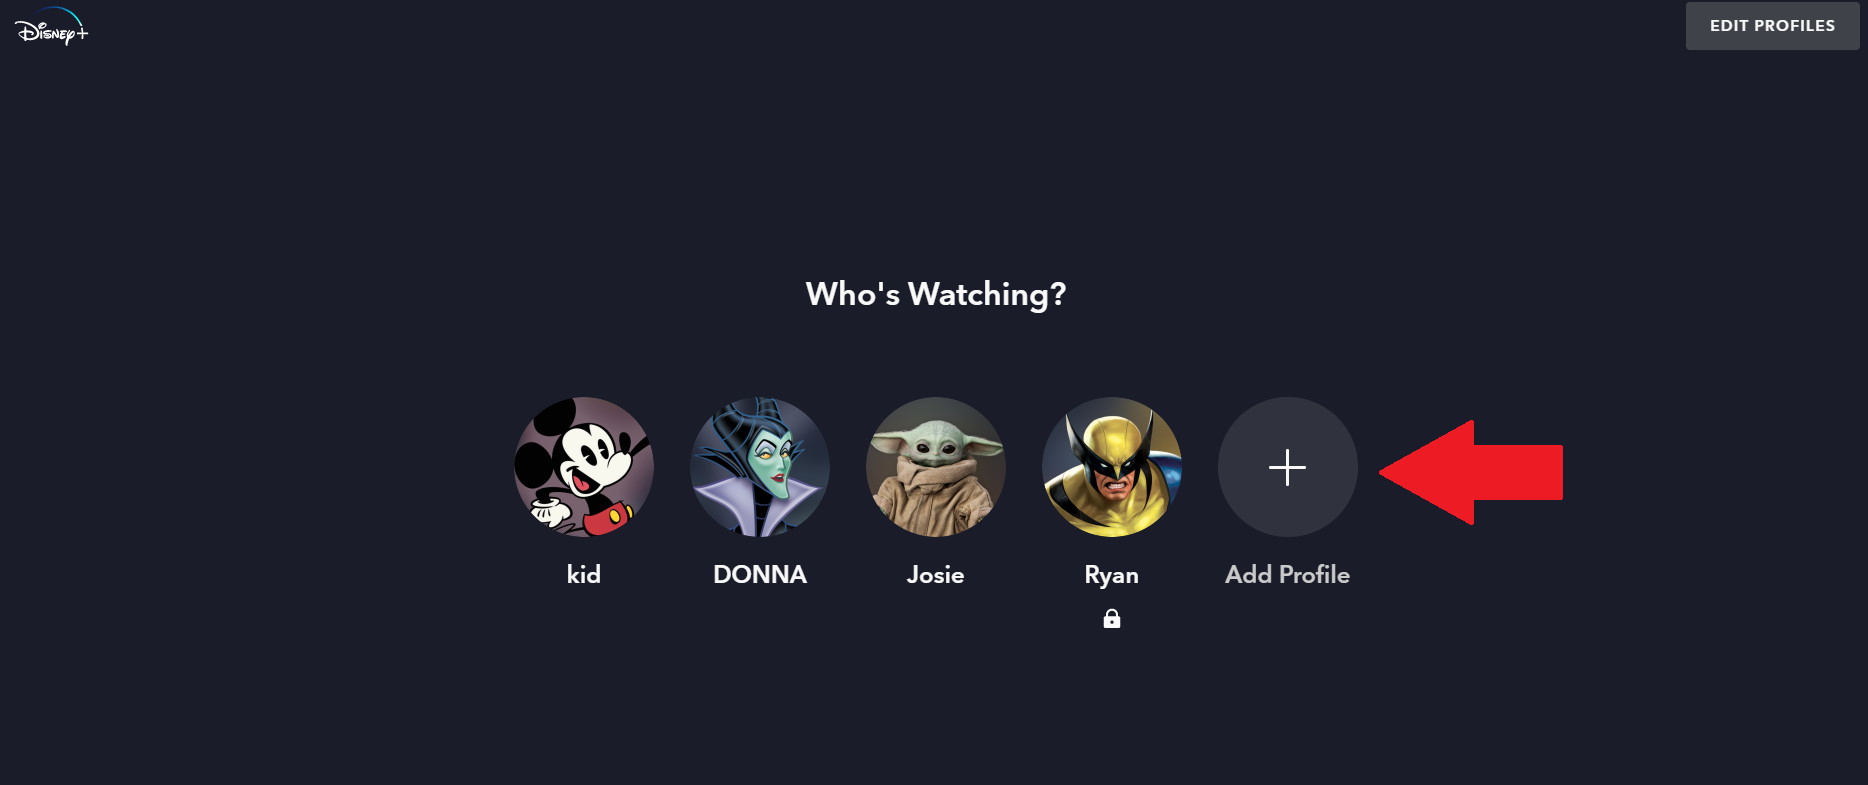
2. Click the + sign labeled Add Profile
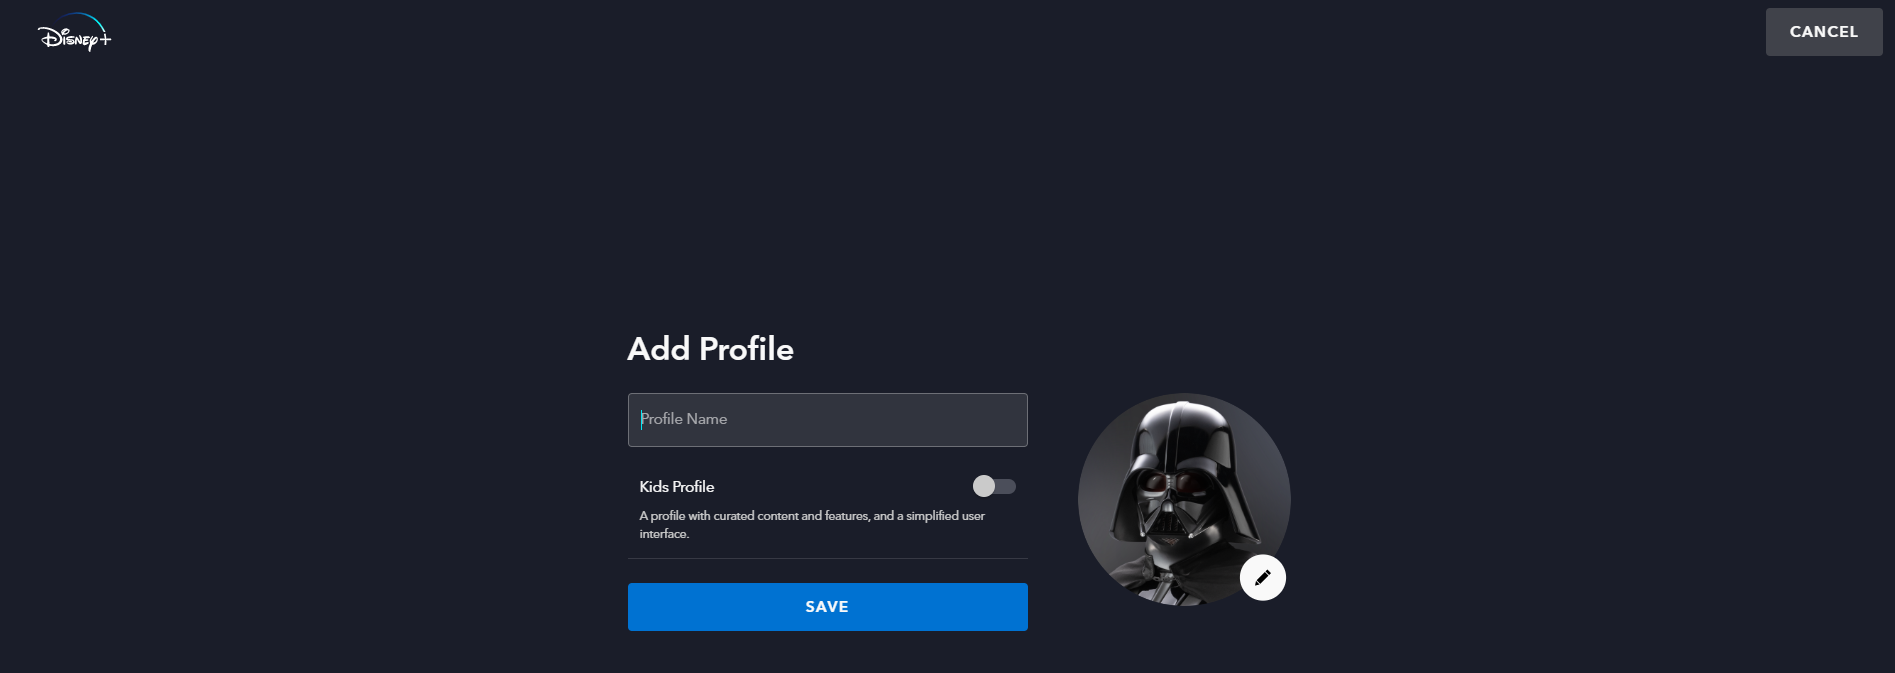
3. Choose an avatar
![]()
4. Type in a name (do not select the Kids Profile option) and save
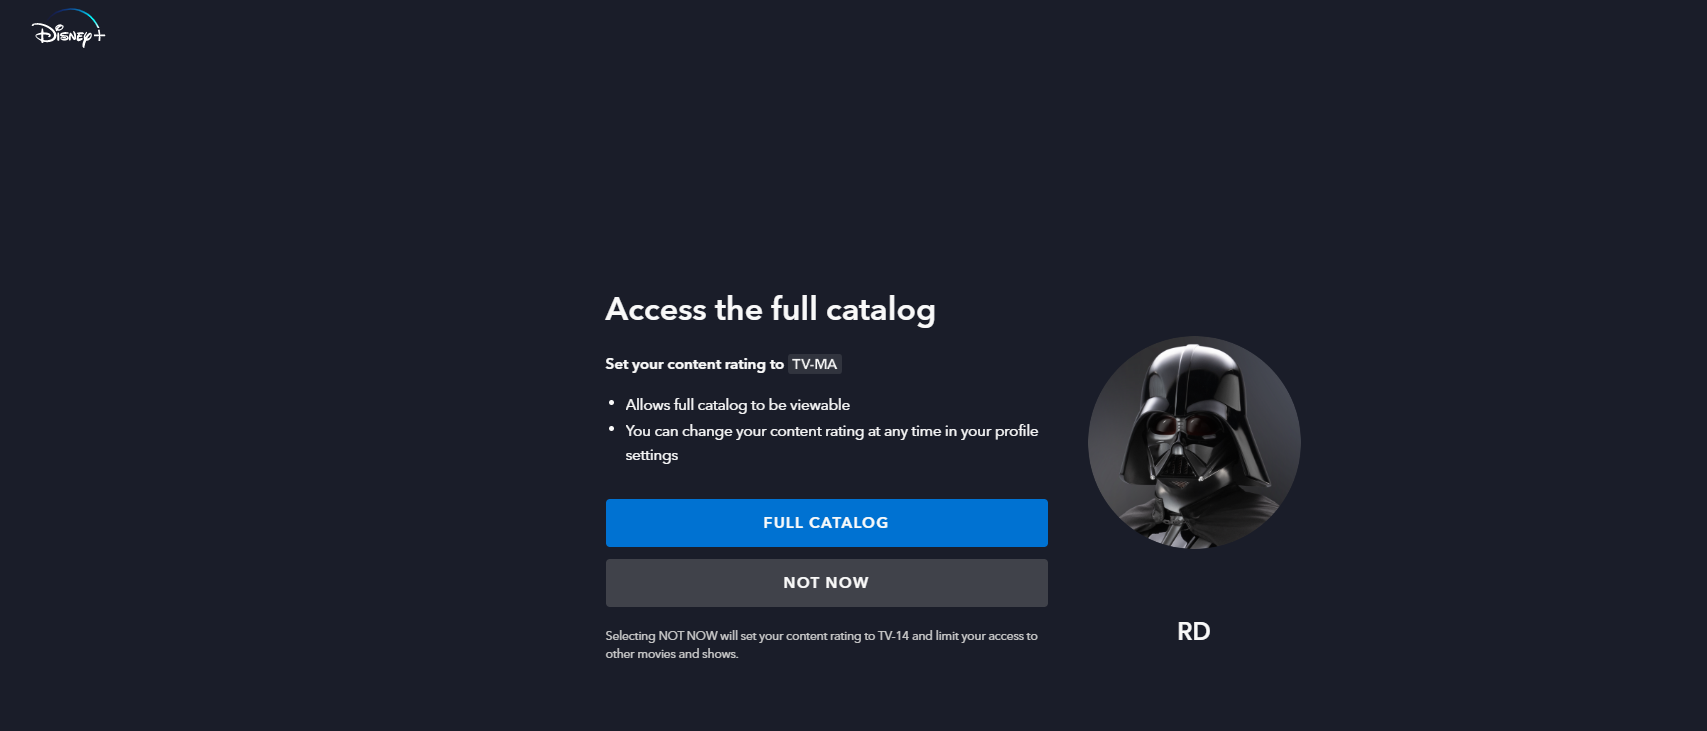
5. On the next screen select Full Catalog. As is noted if you say not now you will be limited to TV-14 and you will have to go in and change this later.
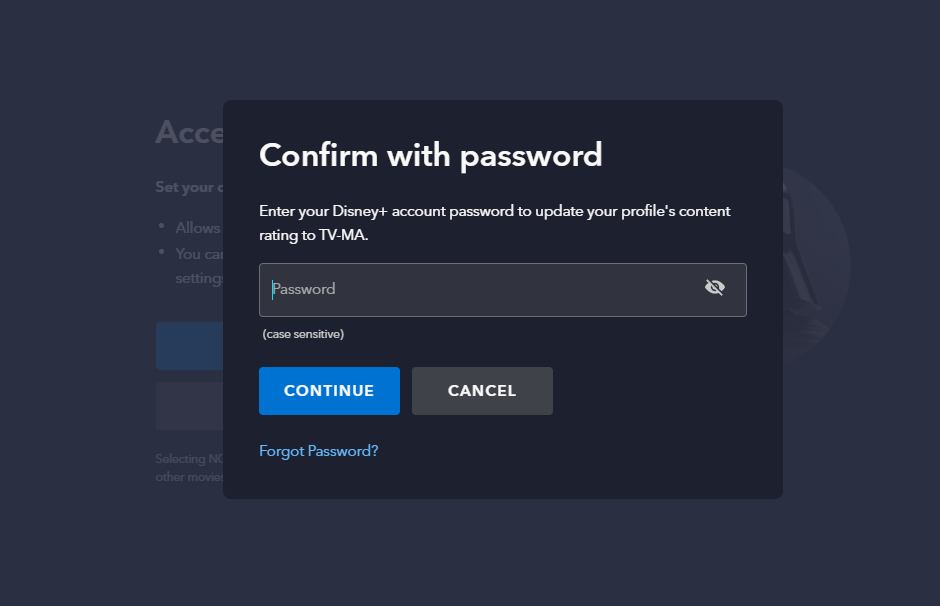
6. Type your account password (the one you use to log into the app and website, not a 4 digit pin) and press continue.
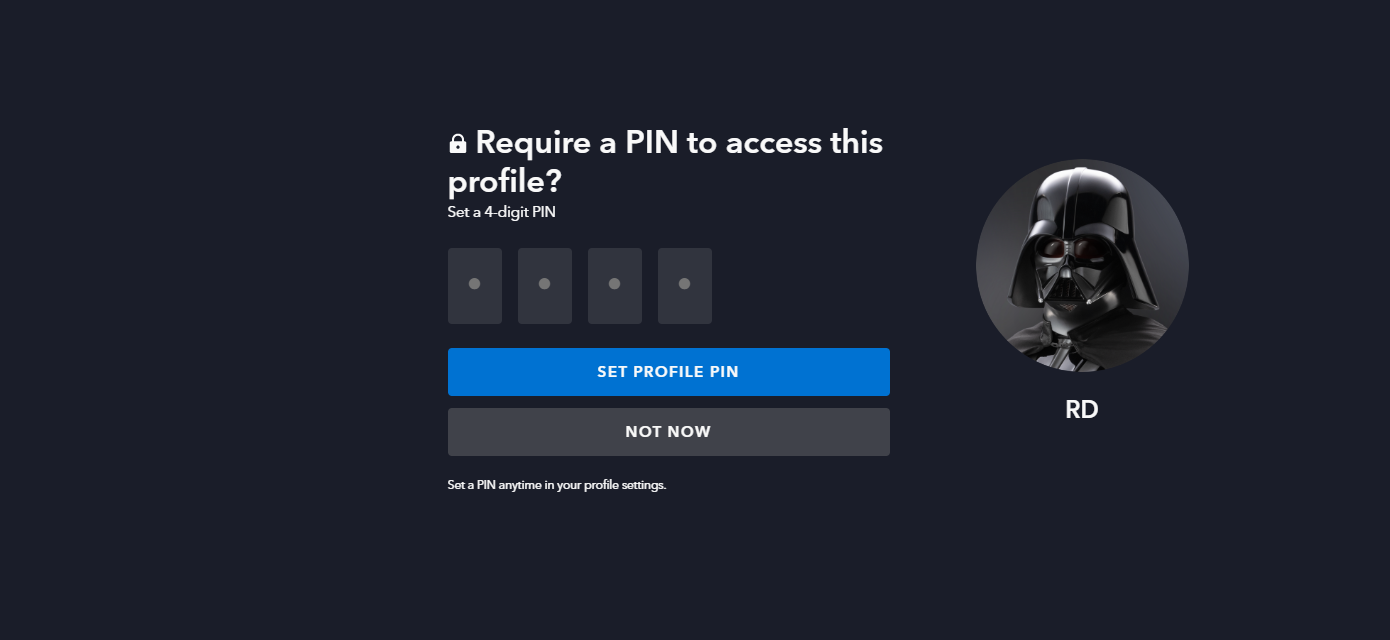
7. Click the blue button that says Set Profile Pin.
Now you have a Disney+ profile that is set up so that one family member can watch the entire catalog of movies and others can not. You can use this methodology to set up separate accounts for little kids and give them access to what you want without a pin while allowing a teenager to view a different pin-protected profile for themselves with a totally different pin number than the adult profile.


